✨ 我是流萤白沙的「文章捕手」,擅长在文字的星海中打捞精华。每当新的篇章诞生,我就会像整理贝壳一样,将思想的闪光点串成珍珠项链~
本文介绍了如何在博客中引入 live2D 看板娘模型,作者最初因加载速度问题选择了石蒜立牌,但最终决定使用 live2D 模型。文章详细说明了代码引入的步骤,包括使用 shokax 主题的 API 和如何在页面中添加相应的代码。接着,作者提供了自定义模型的指导,强调只支持 moc3 模型,并推荐了相关的仓库。最后,文章说明了如何上传代码至 GitHub 并修改 CDN 地址,以便在博客中使用自定义的 live2D 模型。
本来因为加载慢,说不加 live2D 看板娘,去弄了个石蒜立牌当看板娘,但是看见别人的看板娘真的好好看,完全忍不住 /(ㄒ o ㄒ)/~~
但是鱼和熊掌不可兼得,两个都留下让小破站本就不快的速度更是雪上加霜,所以只能含泪舍弃立牌了
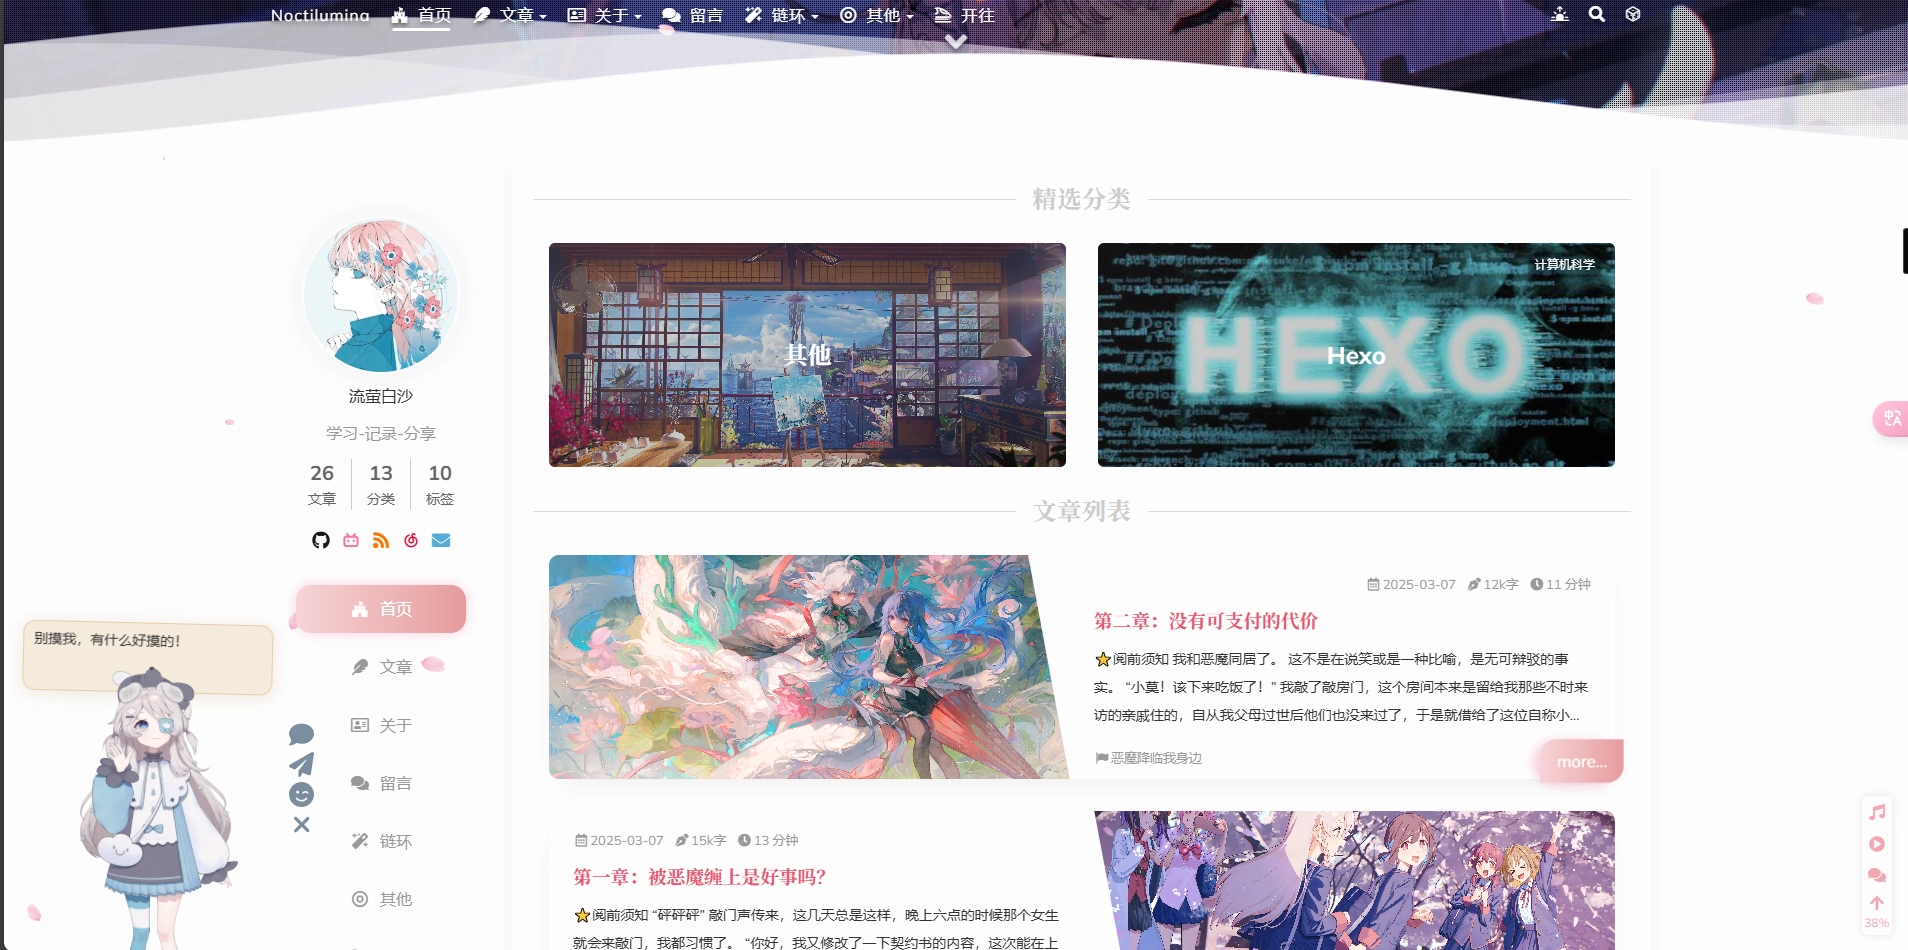
# 效果预览
# 代码引入
我是使用的 shokax 主题自带的注入 API,通用方法是修改主题布局文件,一般在 主题根目录/layout 文件夹中。
其他的情况就看各位各显神通了。
根据你的需要在页面里引入下面的代码,shokax 使用的是 pug 代码
script. | |
const cdnPath = 'https://cdn.jsdelivr.net/gh/letere-gzj/live2d-widget-v3@main' | |
const config = { | |
path: { | |
modelPath: cdnPath + "/Resources/", | |
cssPath: cdnPath + "/waifu.css", | |
tipsJsonPath: cdnPath + "/waifu-tips.json", | |
tipsJsPath: cdnPath + "/waifu-tips.js", | |
live2dCorePath: cdnPath + "/Core/live2dcubismcore.js", | |
live2dSdkPath: cdnPath + "/live2d-sdk.js" | |
}, | |
tools: ["hitokoto", "asteroids", "express", "switch-model", "switch-texture", "photo", "info", "quit"], | |
drag: { | |
enable: true, | |
direction: ["x", "y"] | |
}, | |
switchType: "order" | |
} | |
if (screen.width >= 768) { | |
Promise.all([ | |
loadExternalResource(config.path.cssPath, "css"), | |
loadExternalResource(config.path.live2dCorePath, "js"), | |
loadExternalResource(config.path.live2dSdkPath, "js"), | |
loadExternalResource(config.path.tipsJsPath, "js") | |
]).then(() => { | |
initWidget({ | |
waifuPath: config.path.tipsJsonPath, | |
cdnPath: config.path.modelPath, | |
tools: config.tools, | |
dragEnable: config.drag.enable, | |
dragDirection: config.drag.direction, | |
switchType: config.switchType | |
}); | |
}); | |
} | |
function loadExternalResource(url, type) { | |
return new Promise((resolve, reject) => { | |
let tag; | |
if (type === "css") { | |
tag = document.createElement("link"); | |
tag.rel = "stylesheet"; | |
tag.href = url; | |
} | |
else if (type === "js") { | |
tag = document.createElement("script"); | |
tag.src = url; | |
} | |
if (tag) { | |
tag.onload = () => resolve(url); | |
tag.onerror = () => reject(url); | |
document.head.appendChild(tag); | |
} | |
}); | |
} |
其他主题可以用 html 代码
<script> | |
const cdnPath = 'https://cdn.jsdelivr.net/gh/letere-gzj/live2d-widget-v3@main'; | |
const config = { | |
// 资源路径 | |
path: { | |
homePath: '/', | |
modelPath: cdnPath + "/Resources/", | |
cssPath: cdnPath + "/waifu.css", | |
tipsJsonPath: cdnPath + "/waifu-tips.json", | |
tipsJsPath: cdnPath + "/waifu-tips.js", | |
live2dCorePath: cdnPath + "/Core/live2dcubismcore.js", | |
live2dSdkPath: cdnPath + "/live2d-sdk.js" | |
}, | |
// 工具栏 | |
tools: ["hitokoto", "asteroids", "express", "switch-model", "switch-texture", "photo", "info", "quit"], | |
// 模型拖拽 | |
drag: { | |
enable: true, | |
direction: ["x", "y"] | |
}, | |
// 模型切换 (order: 顺序切换,random: 随机切换) | |
switchType: "order" | |
} | |
// 加载资源并初始化 | |
if (screen.width >= 768) { | |
Promise.all([ | |
loadExternalResource(config.path.cssPath, "css"), | |
loadExternalResource(config.path.live2dCorePath, "js"), | |
loadExternalResource(config.path.live2dSdkPath, "js"), | |
loadExternalResource(config.path.tipsJsPath, "js") | |
]).then(() => { | |
initWidget({ | |
homePath: config.path.homePath, | |
waifuPath: config.path.tipsJsonPath, | |
cdnPath: config.path.modelPath, | |
tools: config.tools, | |
dragEnable: config.drag.enable, | |
dragDirection: config.drag.direction, | |
switchType: config.switchType | |
}); | |
}); | |
} | |
// 异步加载资源 | |
function loadExternalResource(url, type) { | |
return new Promise((resolve, reject) => { | |
let tag; | |
if (type === "css") { | |
tag = document.createElement("link"); | |
tag.rel = "stylesheet"; | |
tag.href = url; | |
} | |
else if (type === "js") { | |
tag = document.createElement("script"); | |
tag.src = url; | |
} | |
if (tag) { | |
tag.onload = () => resolve(url); | |
tag.onerror = () => reject(url); | |
document.head.appendChild(tag); | |
} | |
}); | |
} | |
</script> |
做完这里已经可以用了其实,不过我们还要自定义模型
# 自定义模型
值得注意的是,本套方案不支持 moc 模型(旧版),只支持 moc3 模型。
如果要使用 moc 模型的话,这边推荐:
- live2d-widget—— 仅支持 moc 模型
- oh-my-live2d—— 支持所有格式模型
- 克隆仓库代码到本地
- 把自己喜欢的模型放入
/Resources/model - 在模型文件夹里新建
config.json,加入下面的代码,调整你模型的大小和位置
{ | |
"scale": 1.3, | |
"translate": { | |
"x": 0.0, | |
"y": -0.3 | |
} | |
} |
scale:模型缩放倍率x:模型 x 轴偏移y:模型 y 轴偏移
- 本地调试
可以把 Resources 放进博客静态资源目录 hexo 是 sourece 里,然后修改之前引入的代码,将模型路径改成使用本地资源
const config = { | |
path: { | |
modelPath: "/Resources", | |
cssPath: cdnPath + "/waifu.css", | |
tipsJsonPath: cdnPath + "/waifu-tips.json", | |
tipsJsPath: cdnPath + "/waifu-tips.js", |
然后在 Resources 里的 model_list.json 中加入你的模型,比如说我的模型叫 yumi
{ | |
"models": [ | |
["yumi", "fense", "Wariza"] | |
], | |
"messages": [ | |
["你好,我是yumi", "你好,我是fense", "你好,我是Wariza"] | |
] | |
} |
你的可能和我长得不一样,照葫芦画瓢就对了
调试满意之后,把 Resources 拖回去覆盖之前克隆的文件
- 上传
去 github 创建一个公共仓库,把代码推送过去
- 修改 cdn
const cdnPath = 'https://cdn.jsdelivr.net/gh/winter334/live2d-widget-v3@main' |
把 cdn 地址改为:https://cdn.jsdelivr.net/gh/{你的 github 用户名}/{仓库名}@{分支名}
关于模型表情和动作以及 tips,可以参考【Hugo】博客引入 moc3 类型的 live2d 模型进行设置
OK,到此教程结束。