✨ 我是流萤白沙的「文章捕手」,擅长在文字的星海中打捞精华。每当新的篇章诞生,我就会像整理贝壳一样,将思想的闪光点串成珍珠项链~
本文介绍了如何在Hexo搭建的个人博客中引入“说说”功能,以解决动态内容支持不足的问题。首先,用户需在LeanCloud注册并创建应用,设置数据存储和权限,以确保安全性。接着,文章详细描述了如何配置Artitalk_SafeMode以保护AppID和AppKey,避免信息泄露。最后,提供了具体的使用方法,包括如何在页面中添加相关HTML代码和JavaScript配置,完成后即可通过登录账号发布内容。整体过程简明易懂,适合希望增强博客互动性的用户。
Hexo 搭建的个人博客简单易用,可以说是非常的省心,不过美中不足的是,由于对动态内容的弱支持你这不废话吗,有时候想发两句牢骚,简单说两句话都难以实现,为此打开电脑进行编辑感觉又有点没必要。找遍全站,也就只有评论区稍微动态一点,但发评论区又不太合适,因此引入了这个说说功能,这才好了起来。
# 准备工作
# LeanCloud
- 注册 LeanCloud 国际版。
- 创建应用,名称随意。
- 在
数据存储→结构化数据→_User表中添加一行数据,这是你之后用来管理和发布说说的账号,添加完成之后再新增一列img,默认值为你的头像链接。

- 回到
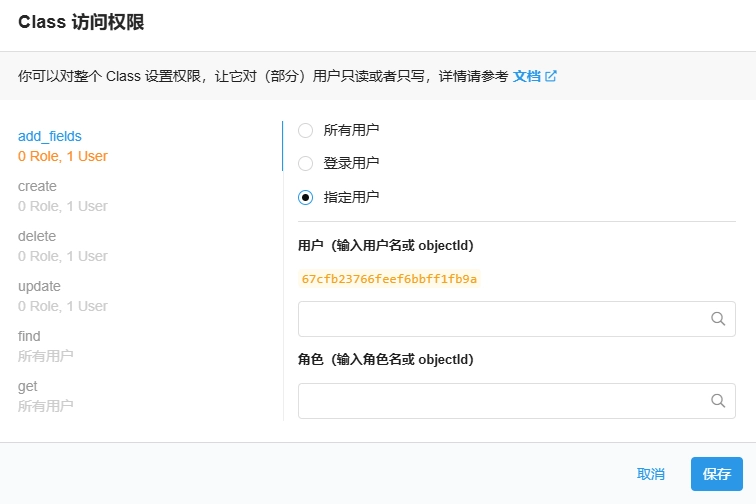
结构化数据中,新建两个class,分别命名为shuoshuo和atComment,将shuoshuo的add_fields、create、delete和update权限设置为指定用户,输入你刚才输入的用户名会自动匹配,atComment的权限默认即可。
- 将
_User的所有权限都设置为指定用户或者数据创建者。
这几步一定要设置好,才可以保证不被 “闲人” 破解发布说说的验证
- 在
设置→应用凭证中找到AppID和AppKey,复制备用。
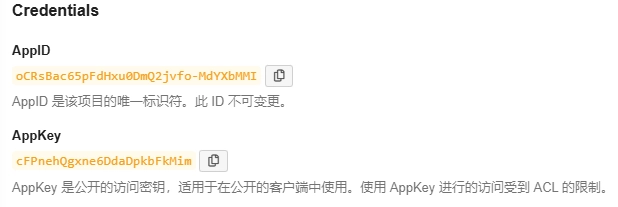
BTW,别去试我的,你看见的时候应该已经删除了。
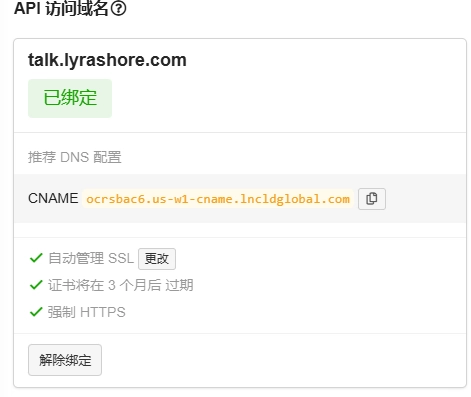
- 在
设置→域名绑定里绑定你的域名。
# 可选 Artitalk_SafeMode
不做这一步的话,会让你的 AppID 和 AppKey 暴露在页面源码中,有一定的安全风险。
Artitalk_SafeMode 通过中间件的方式,在中间件替换 APPID 和 APPKEY 保护两者,避免两者暴露被刷
使用 Artitalk_SafeMode, 请在前端随意伪造 APPID 和 APPKEY, 然后将 serverurl 修改为中间件网址即可。
- 前往 CloudFlare 新建一个
Worker,输入以下代码。
// 此脚本由 MHuiG - MiniValine 写成,ChenYFan 将其做少量修改制成,此脚本仅适用于 Artitalk | |
async function handleRequest(event) { | |
AppId = (function () { try { return APPID } catch (e) { return "" } })() | |
AppKey = (function () { try { return APPKEY } catch (e) { return "" } })() | |
if (AppId == "" || AppKey == "") { return new Response('Artitalk-Safe异常:您没有设定appid和appkey') } | |
ServerDomain = (function () { try { return SERVERDOMAIN } catch (e) { return `${(AppId.substr(0, 8)).toLowerCase()}.api.lncldglobal.com` } })() | |
atComment = (function () { try { return ATCOMMENT == "true" ? true : false } catch (e) { return true } })() | |
CORS = (function () { try { return CORS } catch (e) { return '*' } })() | |
const request = event.request | |
const url = new URL(request.url) | |
const urlObj = new URL(url) | |
const path = urlObj.href.substr(urlObj.origin.length) | |
const classac = l(rp(path).split('/')) | |
if (classac == "atComment" && !atComment) { return new Response('{"code":101,"error":"Artitalk-Safe:评论功能未开启"}', { headers: { "content-type": "application/json;charset=utf-8" } }) } | |
if (classac == "_File" || classac == "_Followee" || classac == "_Follower" || classac == "_Installation" || classac == "_Role") { return new Response('{"code":101,"error":"Artitalk-Safe:操作是禁止的"}', { headers: { "content-type": "application/json;charset=utf-8" } }) } | |
url.hostname = ServerDomain | |
reqHEDNew = new Headers(request.headers) | |
if (reqHEDNew.get("X-LC-Id")) { | |
reqHEDNew.set("X-LC-Id", AppId) | |
reqHEDNew.set("X-LC-Key", AppKey) | |
} | |
if (reqHEDNew.get("x-lc-sign")) { | |
reqHEDNew.delete("X-LC-Sign") | |
} | |
reqNew = new Request(request, { headers: reqHEDNew }) | |
responsefetch = await fetch(url.toString(), reqNew) | |
resHEDNew = new Headers(responsefetch.headers) | |
resHEDNew.set("Access-Control-Allow-Origin", CORS) | |
response = new Response(responsefetch.body, { headers: resHEDNew }) | |
return response | |
} | |
function rp(p) { | |
return p.split("?")[0] | |
} | |
function l(p) { | |
return p[getJsonLength(p) - 1] | |
} | |
function getJsonLength(jsonData) { | |
var jsonLength = 0; | |
for (var item in jsonData) { | |
jsonLength++; | |
} | |
return jsonLength; | |
} | |
addEventListener("fetch", event => { | |
event.respondWith(handleRequest(event)) | |
}) |
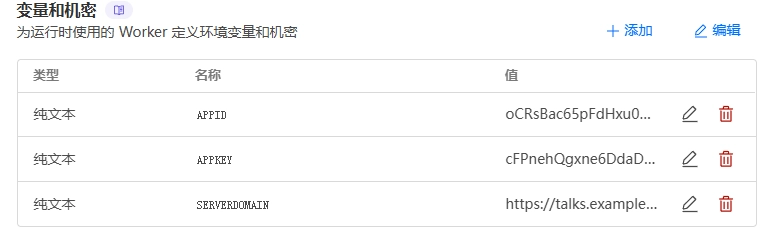
- 在
Worker的设置里添加变量,APPID、APPKEY和SERVERDOMAIN,值分别为之前AppID、AppKey和你绑定的域名。
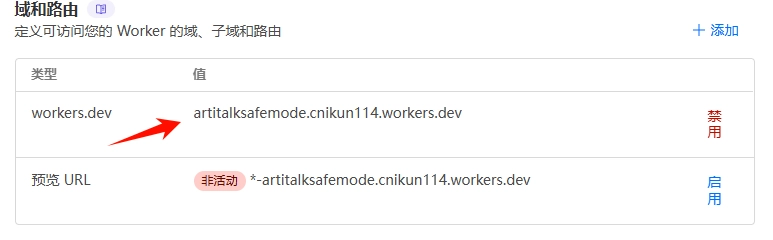
- 找到
workers.dev,复制备用。
到这里准备工作差不多就完成了。
# 使用方法
- 新建 page
talks。 - 在页面中加入 html,hexo 直接加在 md 文件里就行了。
<script type="text/javascript" src="https://unpkg.com/artitalk"></script> | |
<div id="artitalk_main"></div> | |
<script> | |
new Artitalk ({ | |
appId: '', //appid,如果你使用了 Artitalk_SafeMode 的话随便填 | |
appKey: '', //appkey,同上 | |
serverURL: '', // 你绑定的域名,如果你使用了 Artitalk_SafeMode,填 workers.dev (xxxx.xxxx.workers.dev) | |
pageSize: 10, | |
shuoPla: ' 发布一些东西吧~', // 相当于 placehoder,发布时显示在输入框 | |
color1: 'url ("https://xxxxxxxx.png")', // 背景为图片形式 | |
color2: 'linear-gradient (-45deg, #3A405A, #AEC5EB, #F9DEC9, #E9AFA3) 0% 0% / 400% 400%', // 背景为渐变形式 | |
color3: '#111' // 字体颜色 | |
}) | |
</script> |
- 发布之后到对应页面登陆你的账号,就可以使用了。
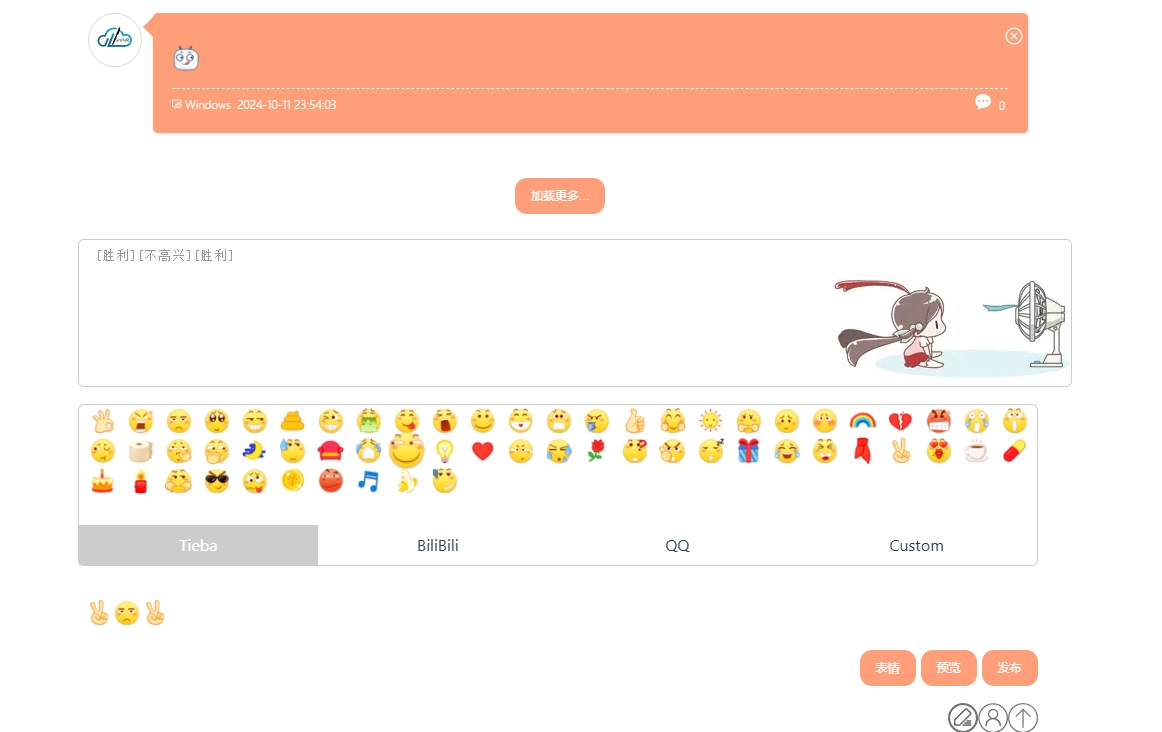
OK,到此结束。